Q: When it comes to deadlifts and back development I am confused as to which form is better: partial deads in the rack or full deads off the floor?
A: Ask 50 different bodybuilders that question, and you’ll likely get two different answers (I bet you thought I’d say 50 different answers, right?). Fifty percent will claim that full deads are the only way to go, and the other 50 will swear by pulling in the rack. Very often, bodybuilders who proclaim full deads to be king are former powerlifters, train with a powerlifter or lift in a gym filled with powerlifters.
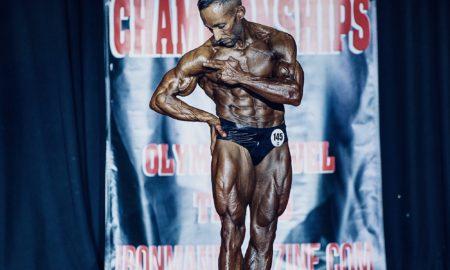
Two of the biggest backs ever in the IFBB belong to Ronnie Coleman and Johnnie Jackson. Each of them deadlifts at almost every workout, and it is always off the floor; however, both started out as powerlifters, and in fact, Johnnie still occasionally competes in lifting meets.
My point is that although many proclaim that anything short of full range of motion on deads is a waste of time, it’s probably because they were taught to pull from the floor since the beginning and not because they are experts in kinesiology.
So, to answer your question, my opinion is that when speaking purely about what is most efficient for building the back musculature, I would opt for partial deadlifts. The reason is that in order to perform a proper deadlift off the floor, you must drive the first half of the movement almost primarily by using thigh, glute and hip power rather than the muscles of the back. When pulling in a rack, you can eliminate most lower-body recruitment and rely more on the strength and combined contraction of the erectors, lats and traps to lift the weight. So in a sense, partial deads “isolate” the back musculature better than full deads, which spread the stress of the lift over just about the entire body.
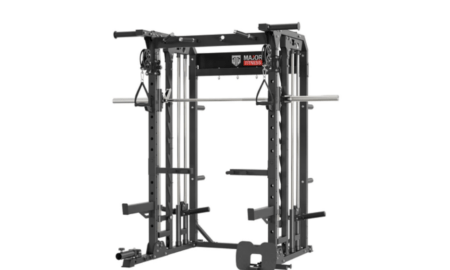
Your next question might be, What is the optimal range of motion for the partial deadlift? Well, there is no “optimal” range of motion, but I have found three particular ranges to be quite effective when used in the following manner:
Week 1: Set the pins to start the lift from just above your knees. Perform three sets to failure at around eight, six and four reps.
Week 2: Set the pins to start the lift from just below your knees. Attempt the same weight as the week before for sets of eight, six and four to failure.
Week 3: Set the pins to start the lift from midshin height. Again, attempt to use the same weight as you used for the previous weeks for sets of eight, six and four to failure.
Take the fourth week off from deadlifts; then start the cycle again. This time use a weight that’s five to 10 pounds heavier than you used in the previous cycle.
That’s an excellent method for slowly increasing your deadlift poundage, which will also lead to a bigger, thicker more heavily muscled back. Just remember, no bouncing the weight off the pins to gain momentum. You will only be cheating yourself. Lift explosively to the standing position, and then slowly lower the bar back to the pins. Let the weight settle before each repetition. Do it right, or don’t do it at all.
Editor’s note: Eric Broser’s new DVD, “Power/Rep Range/Shock Max-Mass Training System,” is available at Home-Gym.com. His e-book, Power/Rep Range/Shock Workout, which includes printable workout templates and a big Q&A section, is available at X-Workouts.com.








You must be logged in to post a comment Login